
ISOASSETS STUDIO / PRACTICAL GUIDES
Light sprites.
Keep the world 3D.
A practical starting point for isometric lighting in Unity URP: connect your character, establish shadows, then add atmosphere only where it helps.
Checked against Lighting 1.0.0 and Arcane Foundry 1.0.1, as applicable · October 25, 2026
Start with the right renderer.
This guide is for a SpriteRenderer character standing in a 3D environment, viewed through an isometric camera. It uses IsoAssets Isometric Lighting. The package supplies editable lighting components and shaders; your game supplies its art, movement and camera controls.
Unity 6.3 LTS and newer (tested 6000.3.27f1 and 6000.6.7f1) · URP 17.3+ (tested 17.3.0 and 17.6.0) · Universal Renderer / Forward+ · RenderGraph · Linear color · Windows x64 / Direct3D 12. Built-in, HDRP, URP 2D Renderer, deferred, XR, camera stacking and other platforms or Unity versions are not certified for this Lighting release.
Create a Universal 3D project or use an existing Universal Renderer project. A URP 2D Renderer scene follows a different lighting path; the package is not a drop-in extension for it. Back up your project before changing rendering settings.
What atmosphere adds.
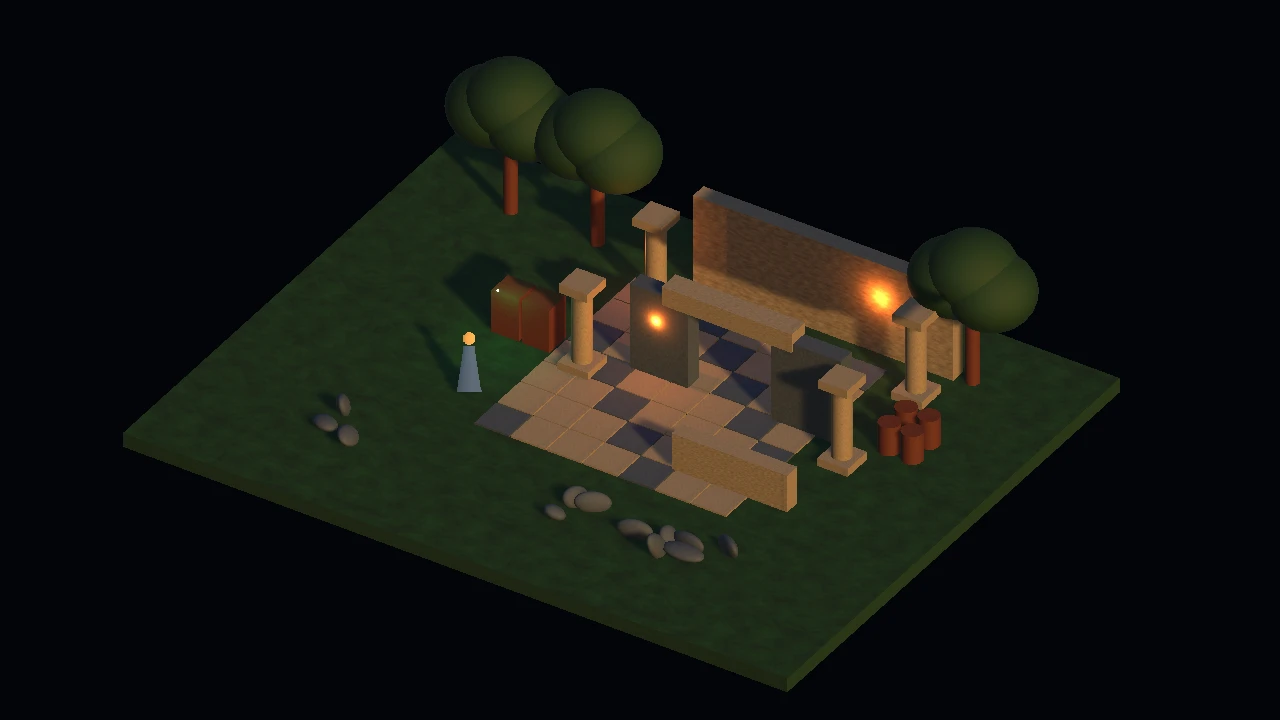
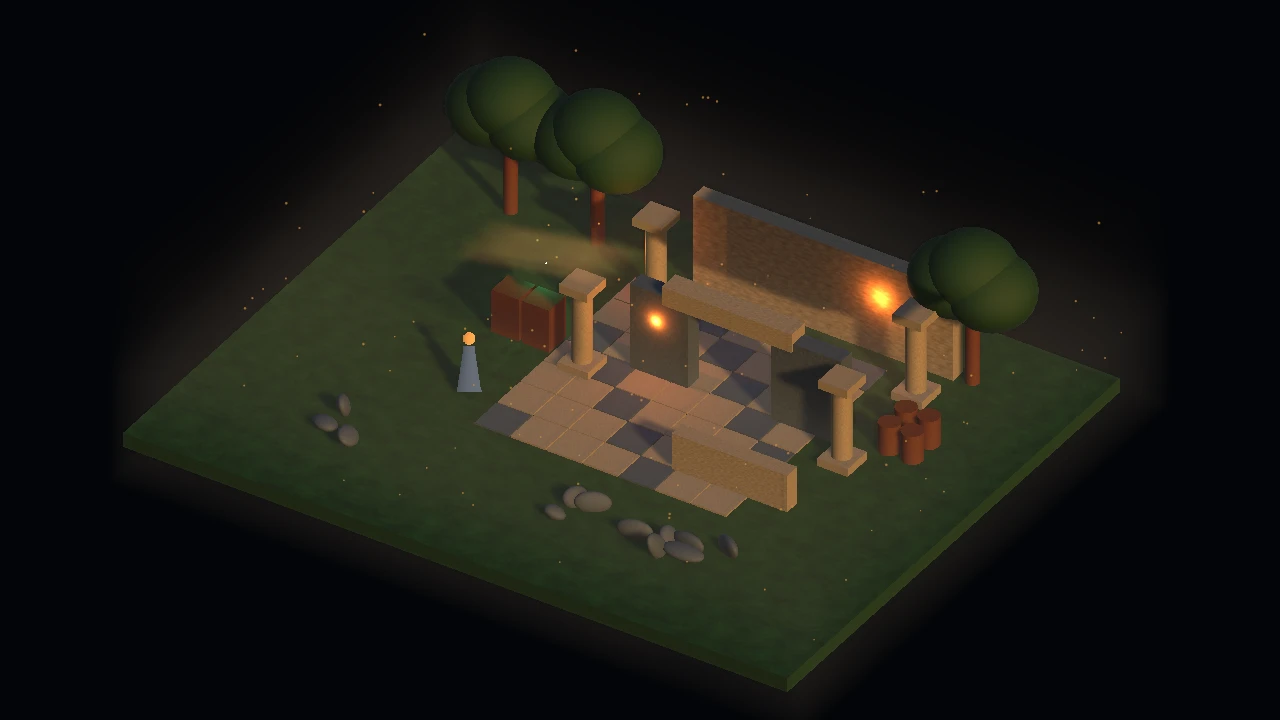
Start with the character and floor readable without haze. Then compare fog, shafts and local mist at your actual gameplay zoom. A brighter or hazier scene is a look choice, not automatically a better result.
Connect your scene explicitly.
- Try the supplied scene. Import the package and select
Assets/IsoLighting/START-HERE.asset. Open SurfaceShowcase or DungeonShowcase, choose Use showcase pipeline for active quality, then press Play. This is an explicit sample-only pipeline selection; restore the previous quality pipeline afterward. - Open your own scene. Choose Tools → IsoAssets Lighting → Set up in current scene. Assign the actor's foot/root transform, camera and existing directional light. Assign the character SpriteRenderer and environment root when you want their optional features.
- Choose features, then create the setup. The tool reports what it configured or skipped. It creates a scene-owned rig, light budget, Day/Dusk profile copies and a JSON TextAsset under
Assets/IsoLighting/GeneratedSetup/<SceneName>/. Save the scene. - Check material changes. Setup replaces the selected sprite's material with the supplied lit sprite material while retaining its texture and tint. Source material assets are not overwritten. Eligible foreground conversion is limited to selected URP Lit meshes; review those changes in your scene.
Import alone does not install renderer features, change your pipeline, install input controls or alter your open scene. Keep one lighting owner per loaded environment; additive scenes and multiple cameras require your own ownership decisions.
Give the sprite form.
A normal map describes the direction a surface faces. Pair your character's diffuse and normal atlases in a SpriteNormalSet: they must have the same dimensions and UV layout. Import the normal texture as Normal map, with sRGB disabled, then assign the set to CrpgSpriteLighting.
The package does not generate normal maps for your art. Missing or dimension-mismatched maps use the flat normal. Flip X/Y is handled; rotated or packed atlas variants still need verification. Test walking and facing changes beside a fixed light before adding more atmosphere.
Separate cast shadow from ground contact.
AnimatedSpriteShadow follows the current sprite frame's alpha silhouette. GroundContactShadow adds a small floor-aligned contact patch. The patch does not conform to stairs, slopes or curved terrain. Check the feet at every relevant height rather than treating it as a terrain decal.
Add atmosphere deliberately.
Choose Tools → IsoAssets Lighting → Add optional atmosphere. Assign the rig and base game camera, and optionally a Volume. Review the resolved renderer asset before installing: the action adds a feature to that asset, which can affect other scenes sharing it. Use a separate renderer asset where appropriate, and save both scene and renderer.
Minimum, Standard, Enhanced and Ultra adjust this package's atmosphere and bloom work. They do not set your game's output resolution, antialiasing or shadow atlas sizes, and they are not hardware certifications. Individual effects can be disabled.
If edits seem to disappear, check applyOnStart and its JSON preset. Root graphicsQuality overrides profile quality when it is 0–3; -1 uses the profile's quality. A camera's qualityOverride can override that root again.
Fog uses opaque/cutout depth before transparents. Transparent spells and glass do not fully occlude it. Cloud/canopy masks skip a conflicting directional cookie rather than overwrite it.
Connect a light pulse to your game.
For a basic hook, add TransientLight to a point-light object, configure peak intensity, range, color and duration, and assign it below. Add that light to the rig's explicit budget list. Call this from your own ability code or an animation-event wrapper. If your gameplay code uses its own assembly definition, add a reference to IsoAssets.Lighting.Runtime.
using IsoAssets.Lighting;
using UnityEngine;

public sealed class AbilityLight : MonoBehaviour
{
    [SerializeField] TransientLight pulse;

    public void OnImpact(Vector3 worldPosition)
    {
        if (pulse) pulse.Play(worldPosition);
    }

    public void OnCancelled()
    {
        if (pulse) pulse.Clear();
    }
}
Place the emitter outside the character or prop's shadow silhouette. Include cleanup on cancellation and pool return. MagicLightSettings can optionally shape shimmer, impact and afterglow. This generic API needs no Arcane Foundry dependency; a phase-aware integration remains your game's responsibility.
Check the cost in your scene.
Start with only the lights that matter. A point-light shadow consumes six shadow faces; a spot consumes one. Exhausting the separate light/shadow budget can leave a source unshadowed. Foreground material instances and property blocks can affect batching.
Profile a built player with your intended camera, output resolution, art and simultaneous effects. Compare atmosphere off/on and then individual features. The video above shows appearance only; it cannot establish performance on your player's hardware.
The included SurfaceShowcase, DungeonShowcase and LightingPlayground use original technical fixtures. The richer scenery and character art shown on the product page are separate promotional demos and are not included.